Every year since 1995 I created my own custom designed Christmas cards. All but one of them have used computer graphics rendering using the Persistence of Vision Ray Tracer (POV-Ray). Last year I did a photograph of some 3D printed figures that re-created the scene from my 1995 card. In recent years because I’ve run out of ideas, I’ve sort of recycled previous years cards with updates and tweaks. It’s been since 2014 that I created an original card.
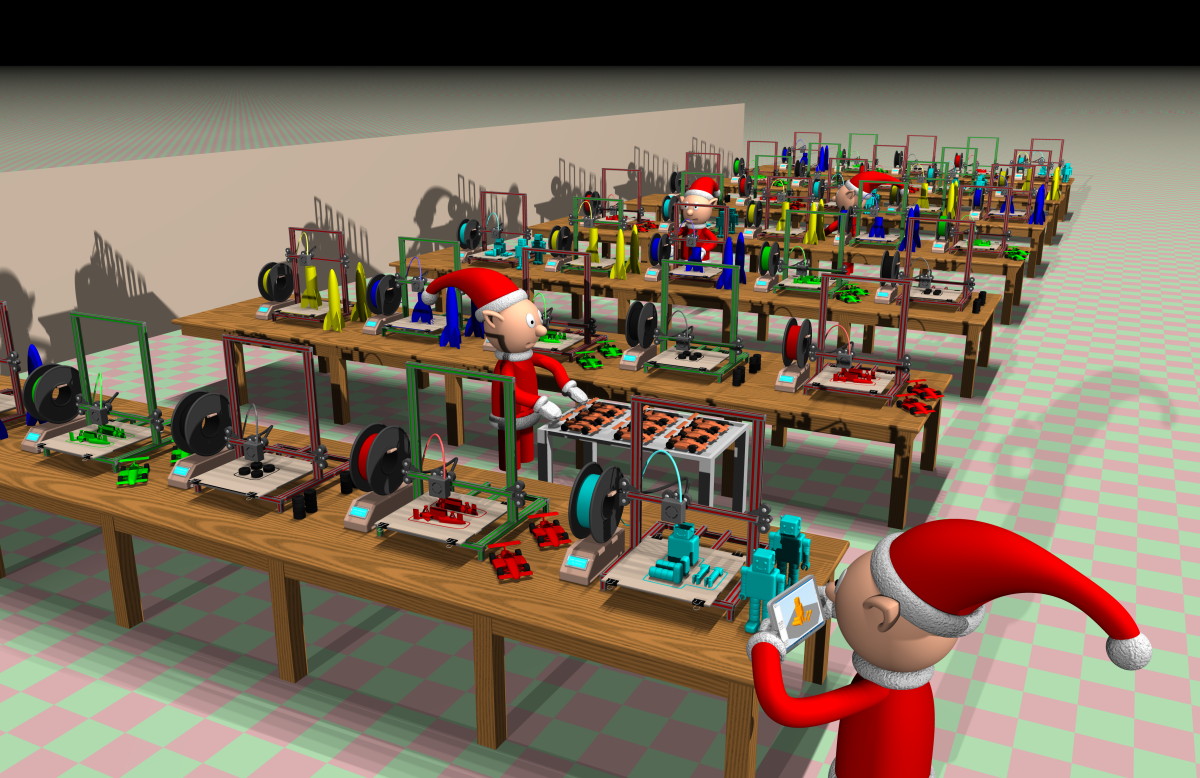
For 2017 I finally came up with an idea for new card. Inspired by my fascination for 3D printing I began to wonder what would happen if Santa Claus adopted this new technology for creating toys. Here is the image that resulted from that concept. Note you can click on any of the images in this blog to see a larger version.
I thought I would describe how I created the image and point out some of the little references that inspired the card.
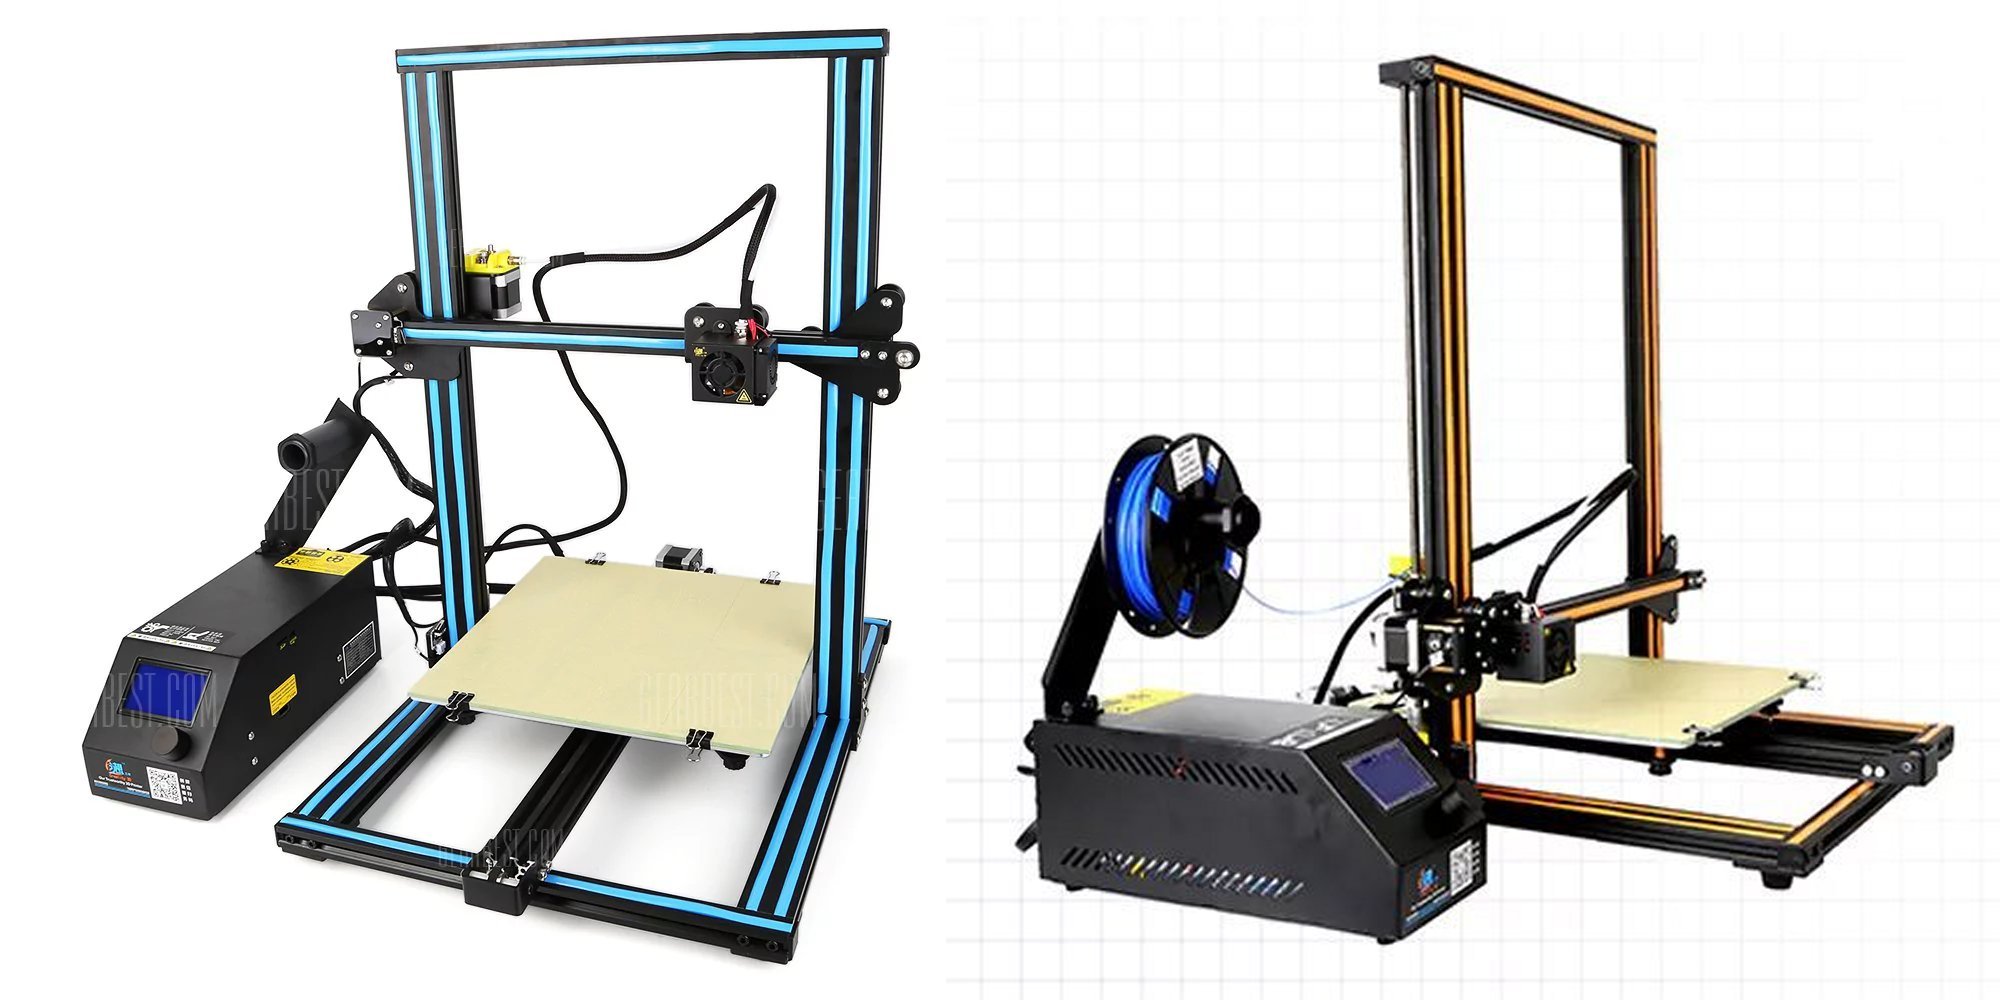
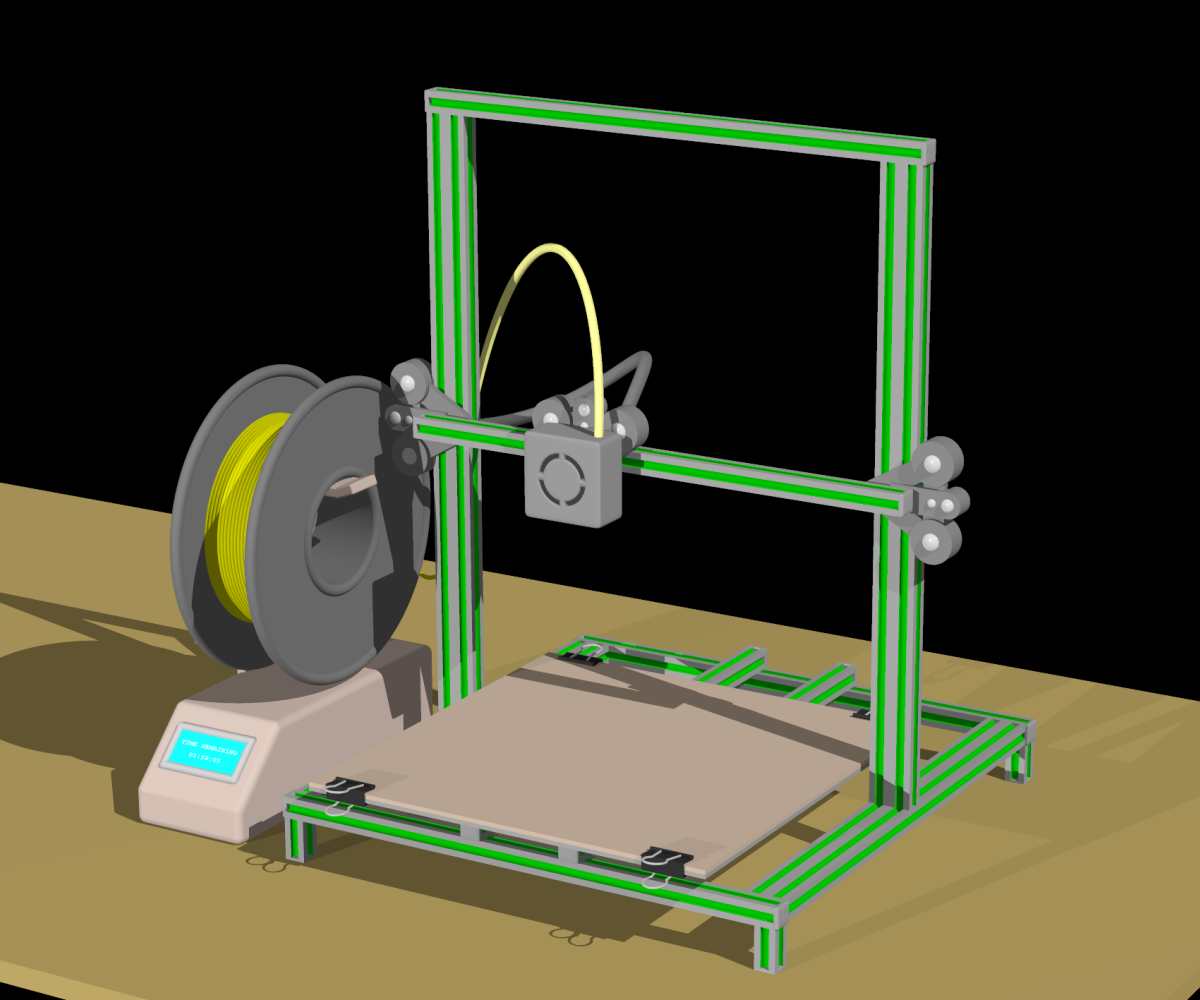
First of all, this 3D printer is loosely inspired by a printer called the Creality CR-10. It is a very popular relatively new printer with a large build area and can be purchased for under $400 for the standard model and under $500 for the larger version. Here are a couple of views of this printer followed by a close-up of my model.
The color trim stripes on these printers are usually either a light blue or yellow/beige color but I decided to give these in more Christmas feel by making them either red or green. When creating such images, you have to decide how much detail you want to create in the model. In the finally mage, even the largest printer in the foreground is only going to be a couple of inches square on the final Christmas card so you don’t really need to put in a lot of detail. For example from some angles that you look at the printer, you don’t see the extruder motor that is on the left side of the cross beam because it is mostly hidden by the upright. So I didn’t bother to model the extruder motor.
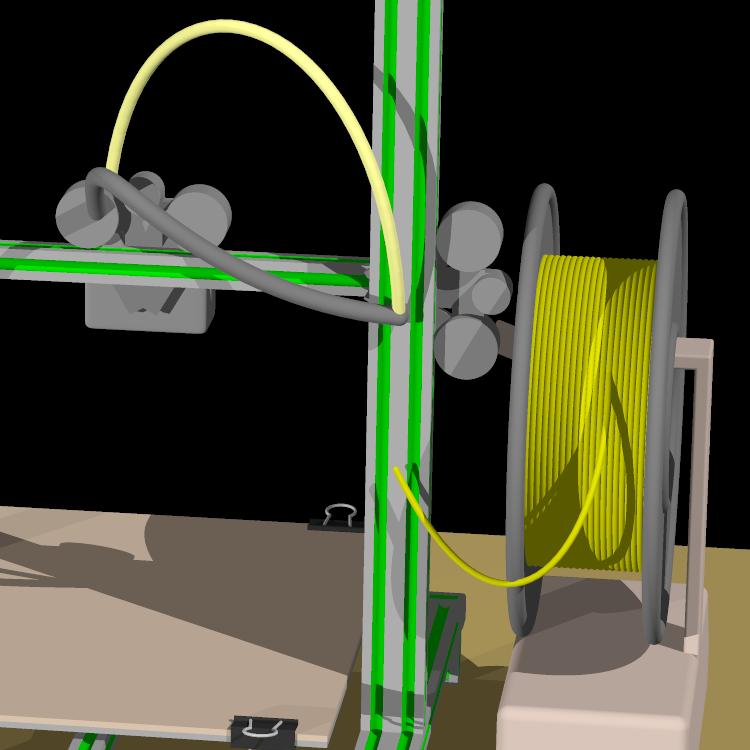
The image below is a close-up view of the backside which you never see, none of the threaded rods that elevate the crossbeam and extruder are there. As mentioned before the extruder motor is missing. The piece of plastic filament that runs from the spool to where the extruder motor should be just stops in midair. The Bowden tube that feeds the filament into the nozzle similarly hangs in midair above where the motor should be. In fact there is no extruder nozzle because from the front view it would be hidden by the cooling fan. So I didn’t even bother to model any of the details. If I was ever going to reuse this model for a different scene that would view the printers from different angles then I would have bothered to create the details.
The filament running from the spool to where the extruder motor should be, the Bowden tube, and the cables running to the nozzle and fan were all modeled using Bezier splines. I did that so that I could move the nozzle left or right in the X direction or move the crossbeam up and down in the Z direction on different printers and the filament pieces and cables would continue to lineup properly. That is because the endpoints were attached to the objects. Had I wanted to, I could create an animation moving the nozzle up and down and left and right and all of the filament pieces and cables would have flexed properly.
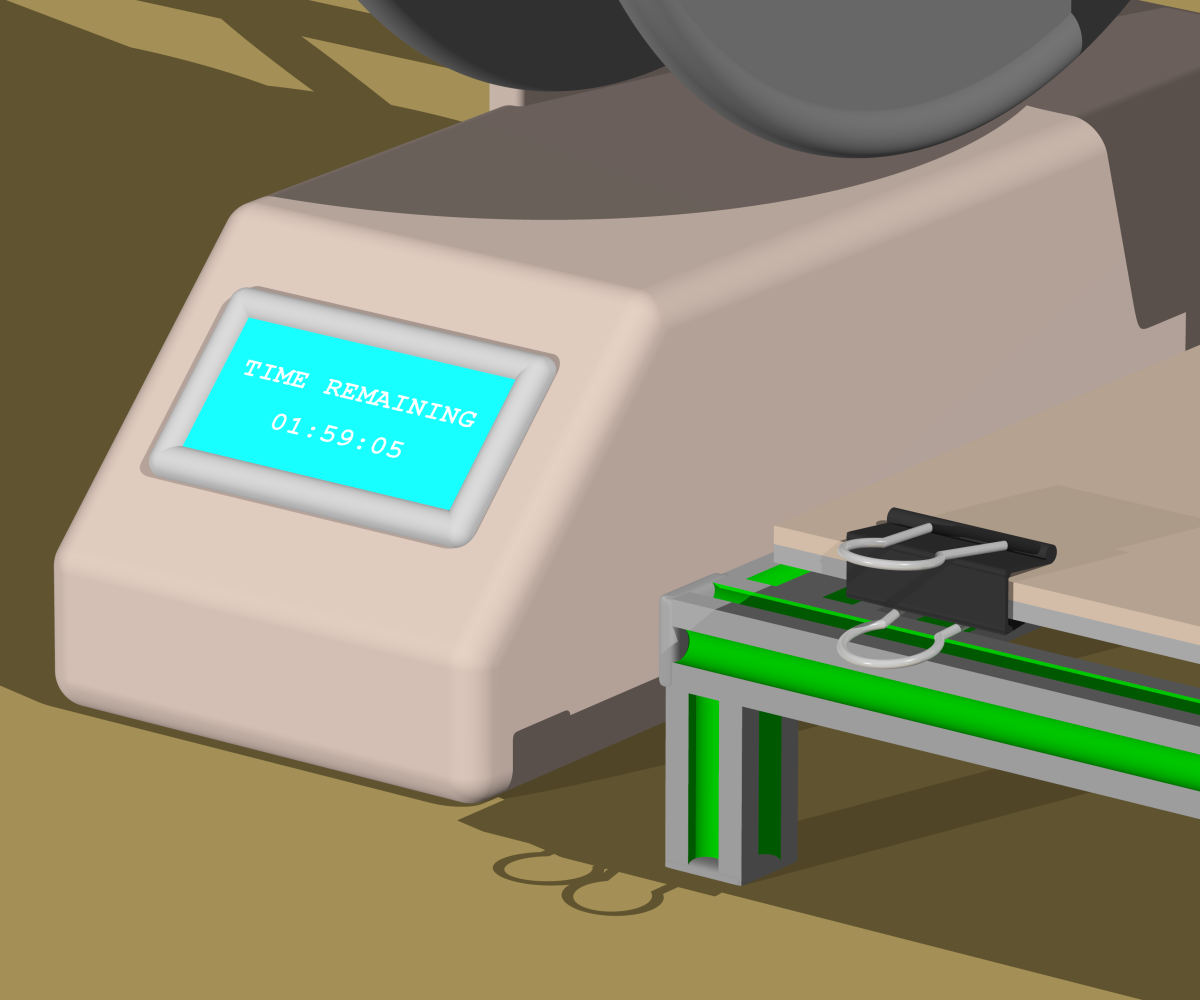
Sometimes I gave into my urge to go ahead and model some details that may or may not show up in the final image.
In this close-up you can see that there is an image map in the display window with text telling how much print time is remaining on the current print. Had I been a real fanatic I would have created different image maps for each of the printers because they would naturally have different amounts of time remaining. But I was sure we would not be able to read the text anyway so they all read the same amount. One detail where I put a lot of effort was modeling the little document clips that hold the removable print bed in place. It turns out that in the full image these little clips really stand out and people who are familiar with this technique for securing 3D printer beds will instantly recognize this detail.
Another bit of poetic license that I took in the design of the printer was that the power supply, display, and spool holder are not black like they are in the actual printer. I was concerned that with a dark printer and a lot of clutter in the image, this little box would not show up. So I took the liberty to make it a sort of beige that was supposed to be reminiscent of an old school IBM PC computer case.
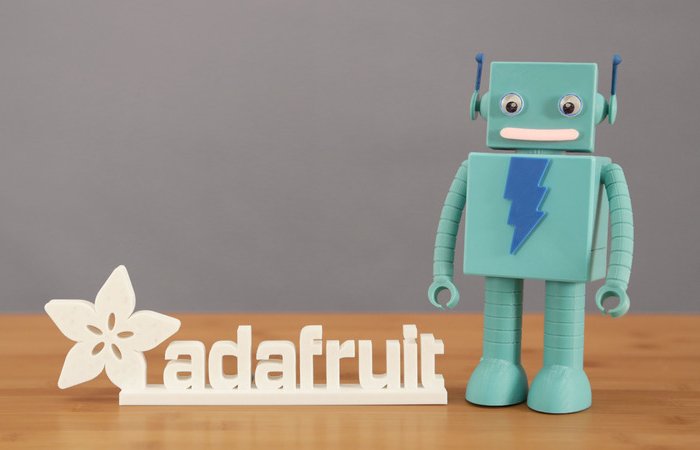
The next job was designing some toys to be printed. The most visible toy is a little robot being printed on the printer in the foreground. It is inspired by “Adabot” — the mascot of Adafruit Industries where I buy all of my electronic parts and maker supplies.
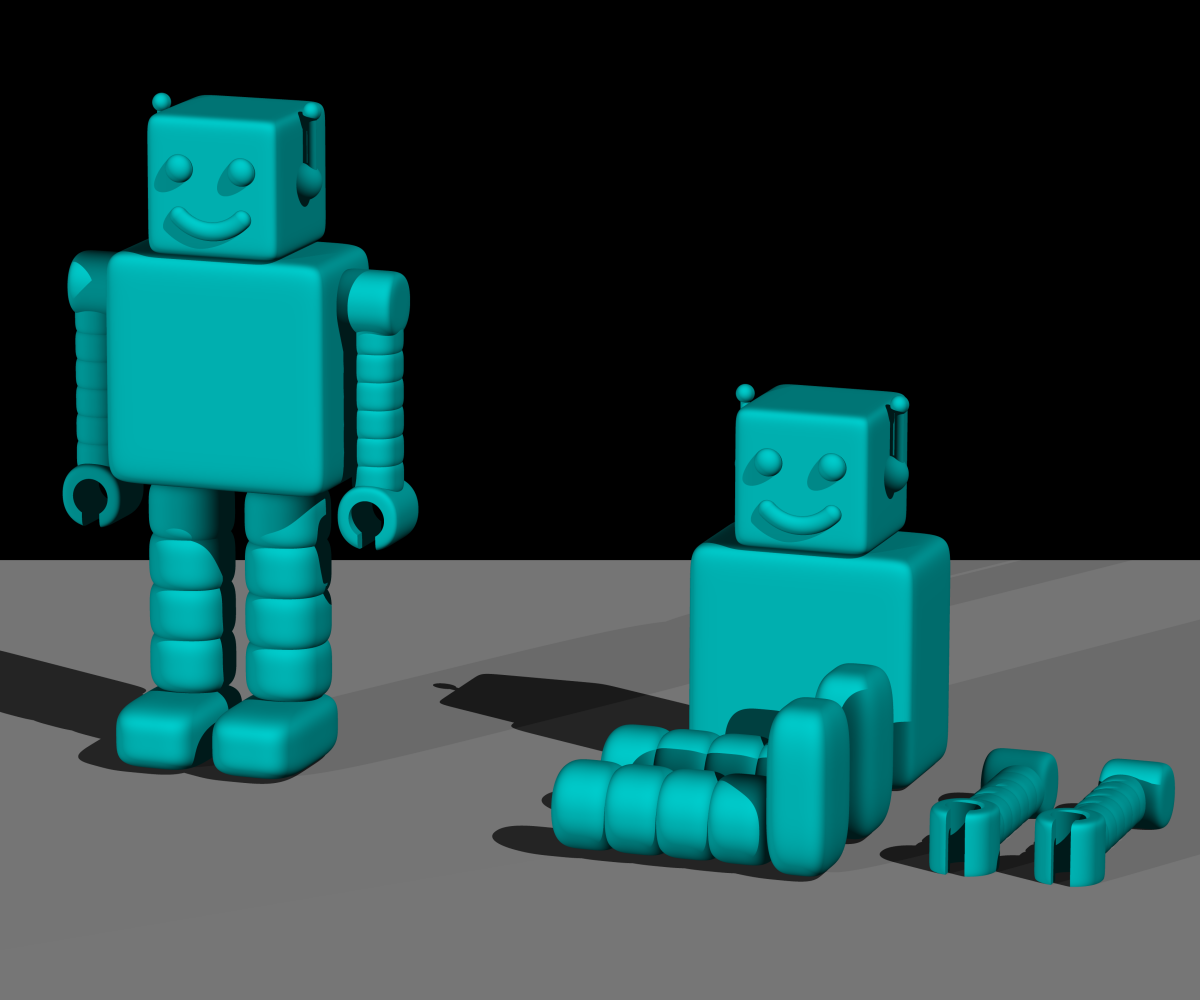
I wanted to have 2 different versions of each toy. One would be a completed version that would sit on the shelf next to the printer and the other would be the parts of the toy as they would sit on the printer platform. A shape like the robot cannot be printed all at once. You could print the body and head together although they would likely be separate. But you would definitely print the knobs and legs separately. Here is a close-up.
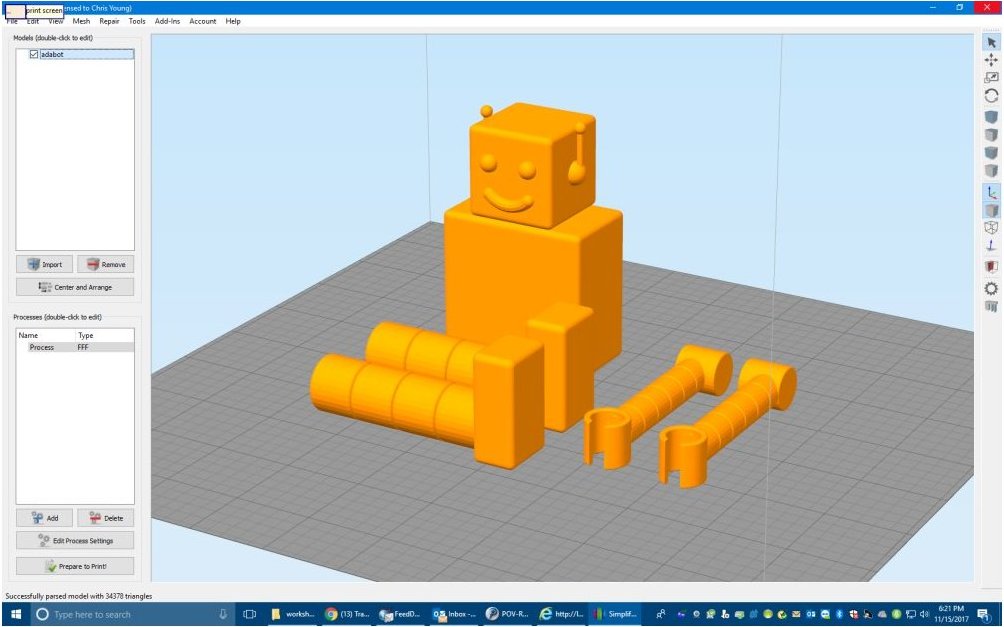
I didn’t put a lot of detail into the robot and he is not an exact duplicate of Adabot but people who are familiar with the character will immediately recognize him. In addition to using the robot as one of the toys, I also wanted to depict a robot being printed on the computer tablet that is being held by the elf in the foreground of the picture. Here is the image map I used on that tablet.
The image above is a screen grab from Simplify 3D which is the program I use to actually 3D print objects. Unfortunately POV-Ray doesn’t export objects in a format that can be 3D printed or can be loaded by Simplify 3D. So I had to use CAD software Blender 3D to create another version of the robot just so that I could load it into Simplify 3D and create that screen grab. It only took me about a half-hour to re-create the robot using a different program because I had all of the dimensions and proportions already figured out in POV-Ray. It was pretty easy to model, export as a STL file, load it into Simplify and do the screen grab. I probably had way too much detail because you can barely see the robot on the tablet. But you can certainly tell that he is looking at a screen representation of what’s being printed in front of him and that was the point. Here’s a close-up that shows more detail than you can see in the original image.
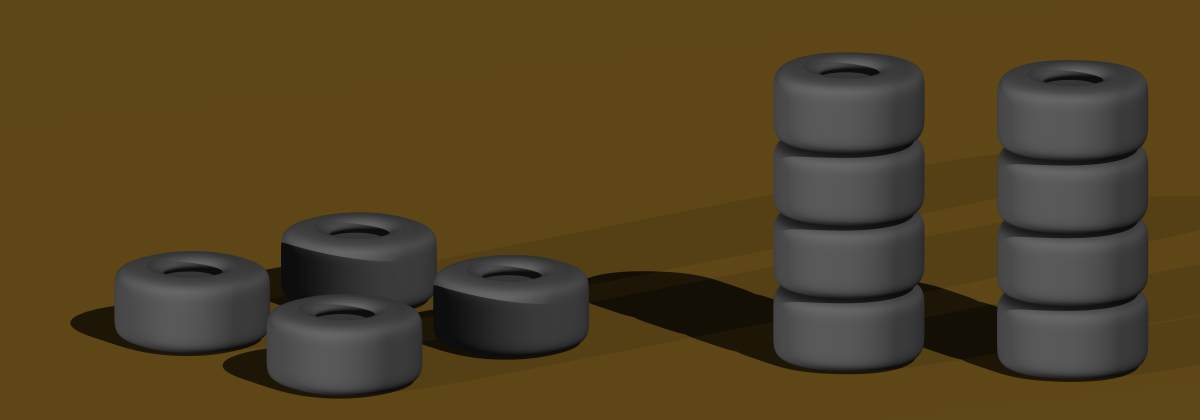
The second toy that I wanted to model was a racecar. I’ve thought about doing a regular stock-car or perhaps it toy truck but it turns out that the racecar was easier to model and being from Indianapolis an IndyCar was a good choice. Again I needed to create two different versions of the model. One of them was a car assembled sitting next to the printer. The other was the car as it would be printed on the 3D printer. I decided the if I was really going to 3D print such a model, the easiest way to do it would be to split it lengthwise down the center and print each half separately. Also the tires would be printed separately. You can see the wheels being printed on a printer in the second row.
After the image was nearly completed I noticed I had made a mistake. The 3D printer doing the racecars was actually printing 2 left sides of the racecar rather than a right and a left. Probably no one would notice but I was glad I caught the mistake in time. I created the model so that it was easy to change the color of the car. In addition to the red car on the printer in the foreground you can see green cars being printed in the background and there is an elf pushing a tray full of assembled orange cars. Here’s a close-up of the IndyCar and of the wheels as they appear on one of the 3D printers in the background.
 Additionally in the background you can see there are printers creating 2 different colors of a toy rocket. This of course was the simplest of the toys to create. I thought about creating other toys. One I seriously considered was a little toy boat affectionately known as “Benchy”. It is a classic 3D printer model used as a benchmark to judge the print quality of various 3D printers. The problem was it is only available in STL or other CAD formats and it would’ve been difficult to import into POV-Ray. I decided that with different colored racecars and different color rockets and given the fact that you could barely see what was printing on the back rows of printers, it wasn’t worth my time to model additional toys.
One of the nice things about creating computer models for scenes like this is that you can duplicate multiple copies of the printers and toys and place them however you want. I just created a loop that created an entire row printers on a table and then created another loop that created multiple tables with one in each row. Here is a wide-angle elevated view of the entire scene.
I thought about doing something fancy for the background but the image was already looking sort of “busy” so I just added a blank wall. I was also going to put boxes of supplies and perhaps additional spools of filament underneath the tables but that was going to be a lot of work and as I said the image was perhaps already a bit cluttered. I decided to just put down a red and green tile floor.
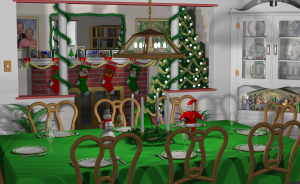
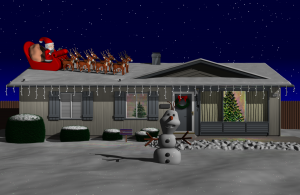
The final piece was of course to design an elf. The design was very loosely inspired by the elves in the animated Christmas special “Rudolph the Red Nosed Reindeer”. I repurposed the hat from a Santa Claus model I had created for my 2011 Christmas card which depicted a dining room table set for Christmas dinner. A little Santa doll was a decoration on the table. That Santa also appeared on the roof of my house in the 2014 Christmas card. Lots of my Christmas card designs reuse different models from year-to-year or adapt previous models for new purposes. But this year everything except the hat on the elves which was redesigned from Santa’s previous hat was completely original for this card. I have not created such a totally original design in a long time. Below is the 2011 card which was the most complex Christmas card I ever created with dozens of elements repurposed from previous cards. Also here is the 2014 card depicting Olaf the snowman in front of my house with Santa on the roof. Don’t forget you can click on the images for larger versions.
 |
 |
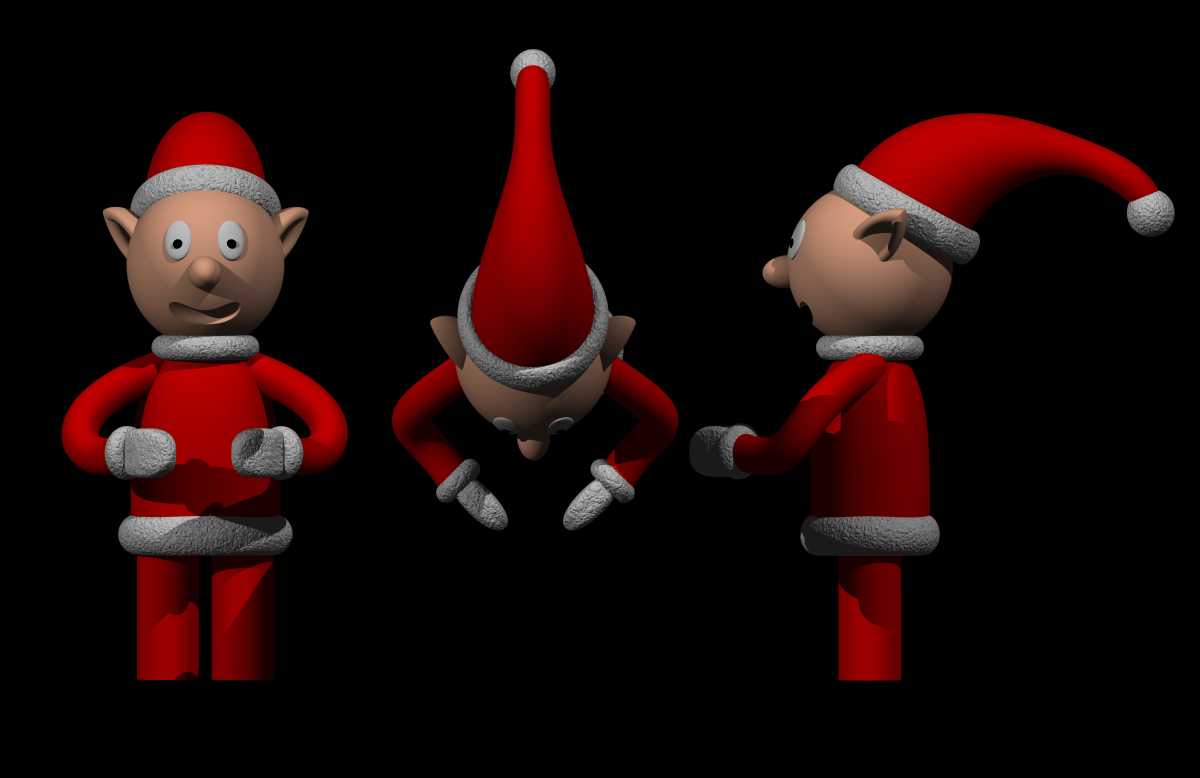
Here is a look at the elf from different angles. I didn’t bother creating feet because they were not going to show in the final image. I used a crinkled normal pattern to make parts of the costume look like they were made from fur when viewed from a distance. The arms were made from Bezier splines so that I could move the hands around in different positions and arms would follow.
There was one final detail that was missing from the image. My guess is no one would have noticed had I left it out. After I took the time to put it in, I was glad I did. When you print something on a 3D printer, the software draws an outline around the object several times so that it ensures that the plastic is flowing smoothly out of the nozzle before the actual print begins.
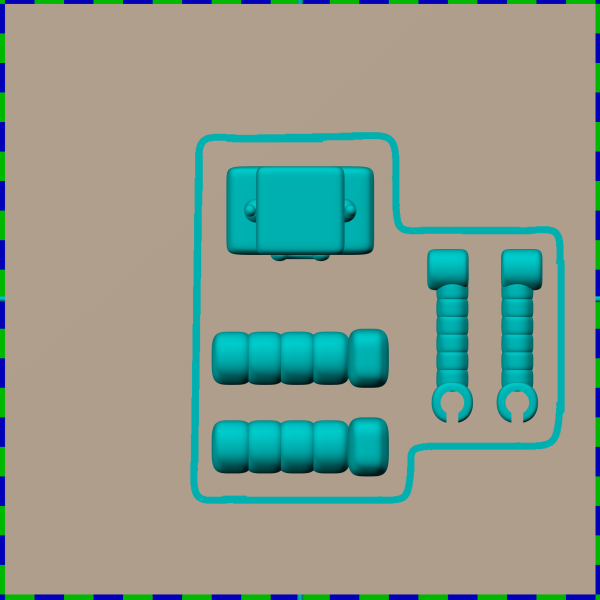
I started by making a rendering of just the build plate with the toy sitting on it with the camera directly overhead looking down. Then I loaded the image into a paint program and using the mouse, drew an outline around the object. I then erased the toy, adjusted the color palette, and reused that image as an image map on the print bed of each printer. Here is the overview rendering that was the first step of the process.
Here is the same image after I’d drawn the outline by hand.
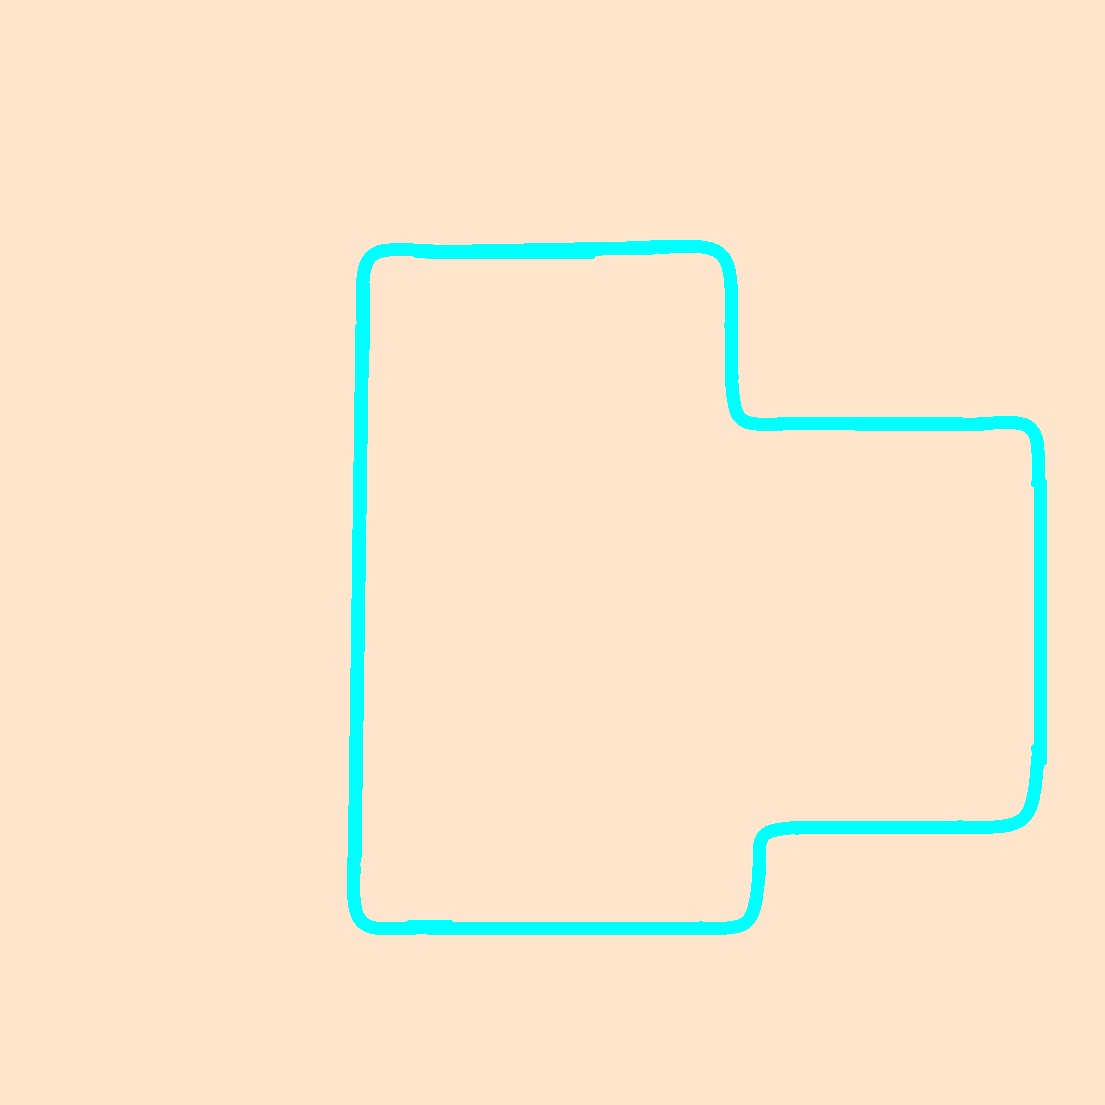
Here is the image map that has the outline but the toy is removed. The color palette has been adjusted.
I had to create a separate image like this for the robot, racecar, wheels, and rocket. I tried to make the one for the robots and racecar reasonably accurate but the other ones were going to be so small in the background that I didn’t do much detail on the outline. You can barely see it in the final image.
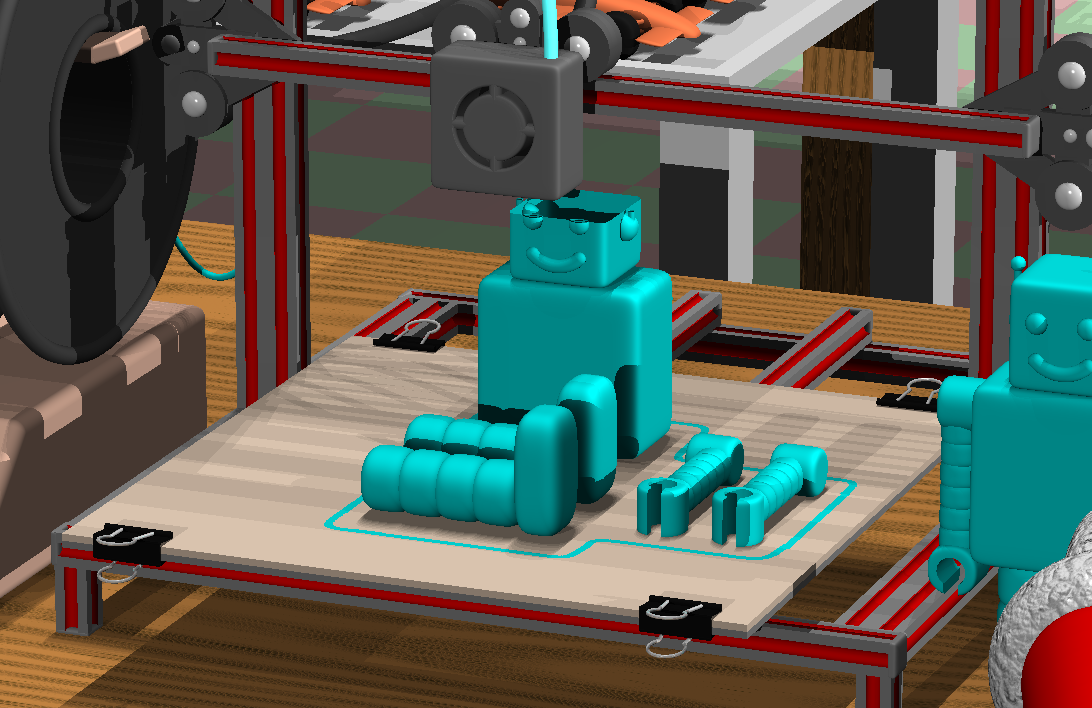
Here is a close up of the robot sitting on the printer. You can see the outline on the printer bed. This also shows how I used a clipping plane to chop off the top of the toys to make it look like the print was in progress and not yet complete. On a real model like this, there would be a crisscross pattern or honeycomb like interior on the model but I just decided to leave it hollow.
The final step was to add the text overlay. I considered just using a paint program to overlay the text on the completed image. However I wasn’t sure how that text was going to impact the details of the image. I would’ve had to re-render the image at different zoom factors and camera positions to allow space for the text to show up. During the re-renders and then having to redo the text multiple times was going to be complicated. In the end, I modeled the text in the rendering program so the text is actually an object sitting in the foreground of the image. It takes quite a bit of math to move the text object into position so that is completely perpendicular to the line of sight of the camera. You take the location of the camera, the location the camera is looking at, and then do a bunch of math. It took me nearly a day to figure out and I might’ve been able to do all of the re-rendering and adding of the text as post-processing quicker than figuring out the math. However if I ever need to do this again, I’ve already got the math worked out in advance. So I figured it was worth the effort. Here is a side view of the scene that shows that the text is actually an object floating in midair.
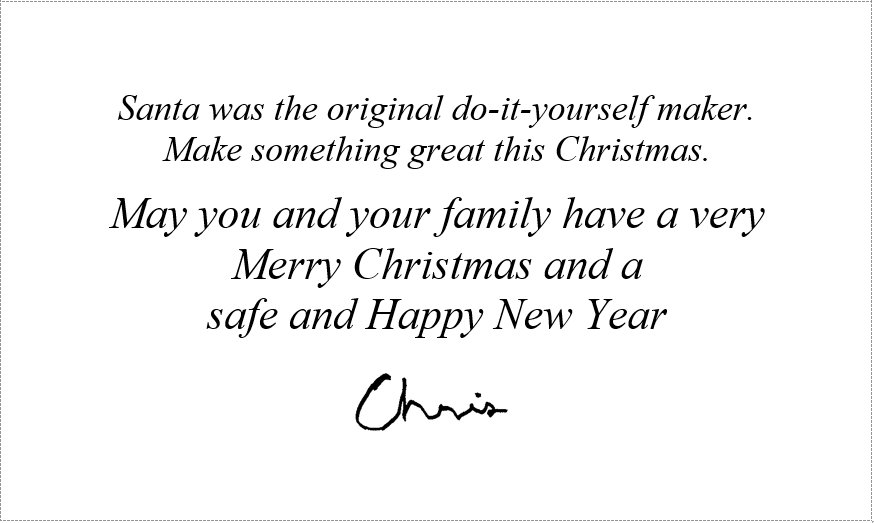
Here is what the interior of the Christmas card looks like.
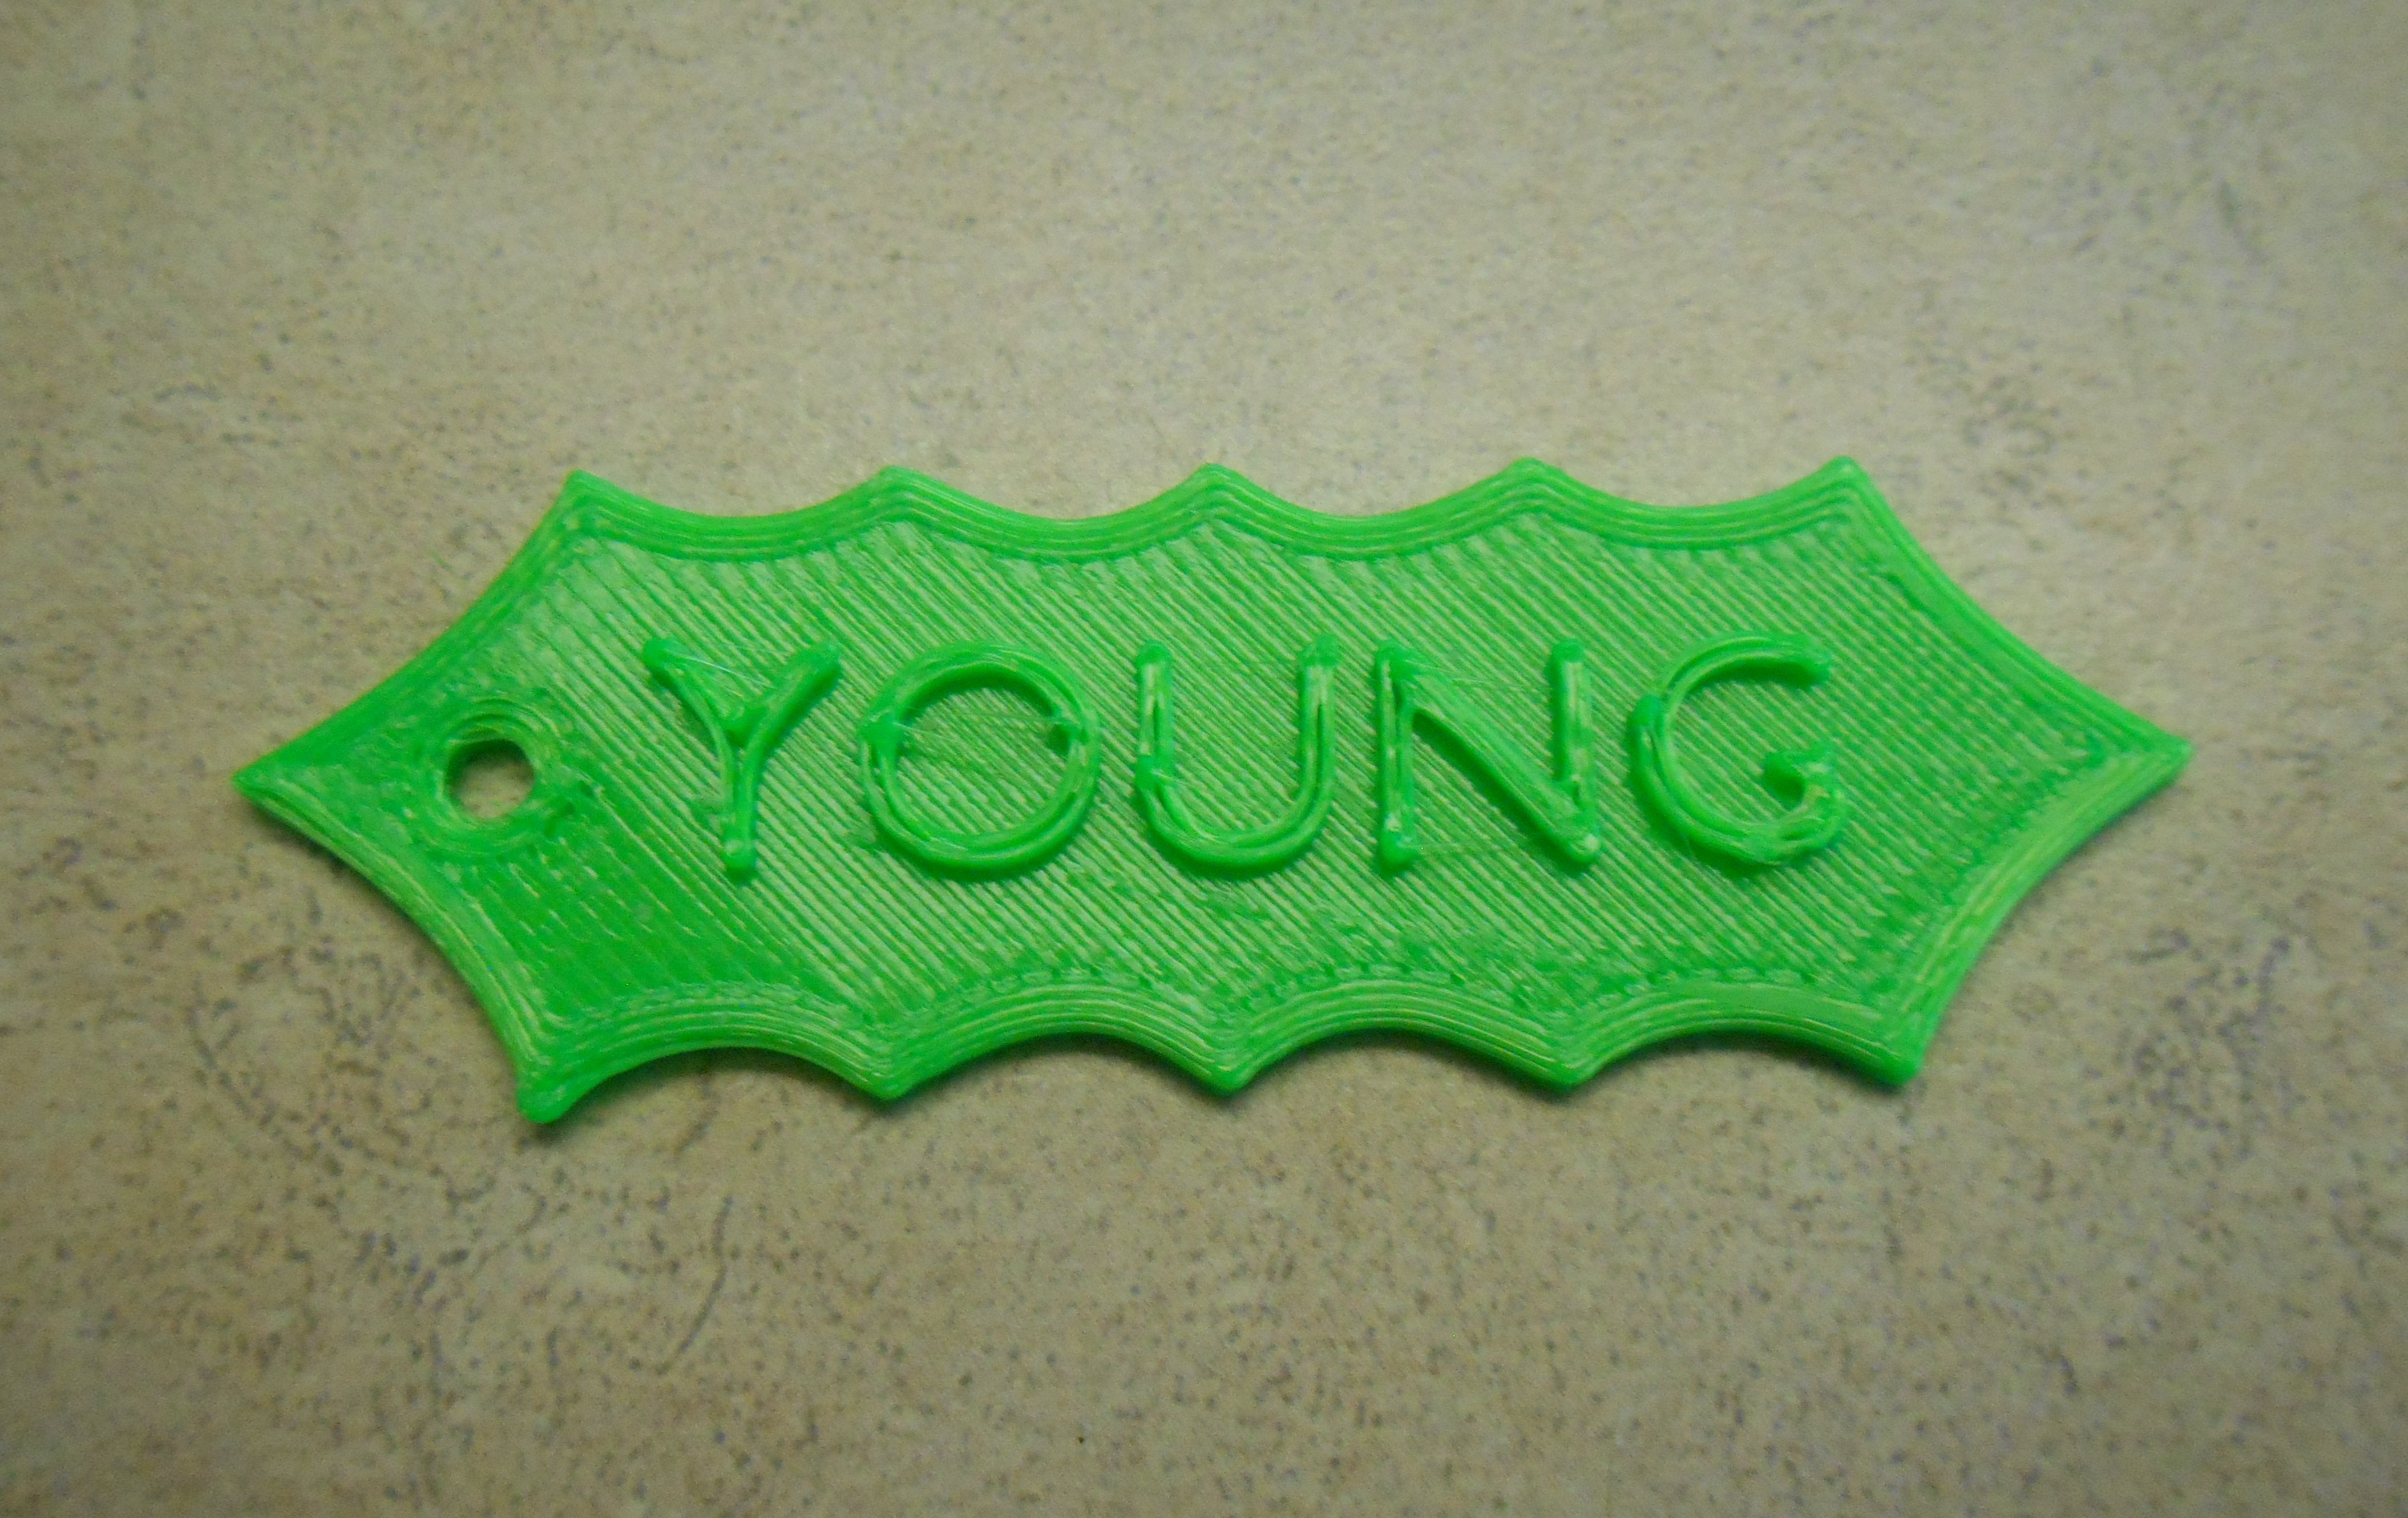
Because some of my friends and family have never seen a 3D printer or know how it works, I decided to put something special in the card of several recipients. I made a little 3D printed Christmas ornament in the shape of a piece of holly. Embossed on the front of the object I put their name. Here is a sample print showing my last name.
Finally here is another blog post on my technology blog with a YouTube video showing how I created the little ornaments.
You also find other blog posts about other 3D printed Christmas ornaments that I have created here and here.
I hope you have found this little behind-the-scenes peek at how I create my Christmas card educational and entertaining. Merry Christmas everyone.

